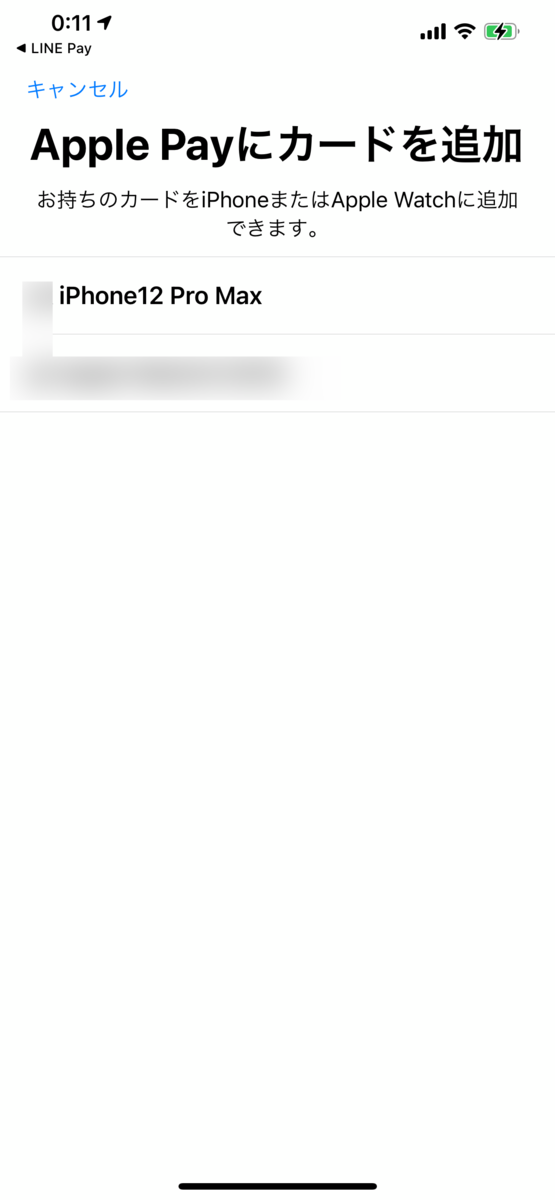
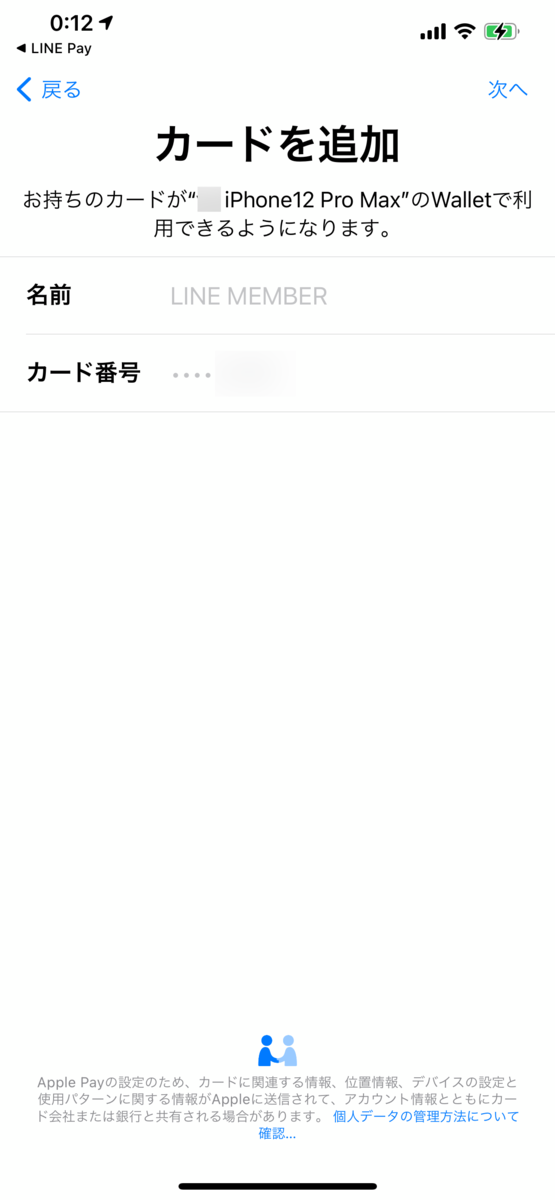
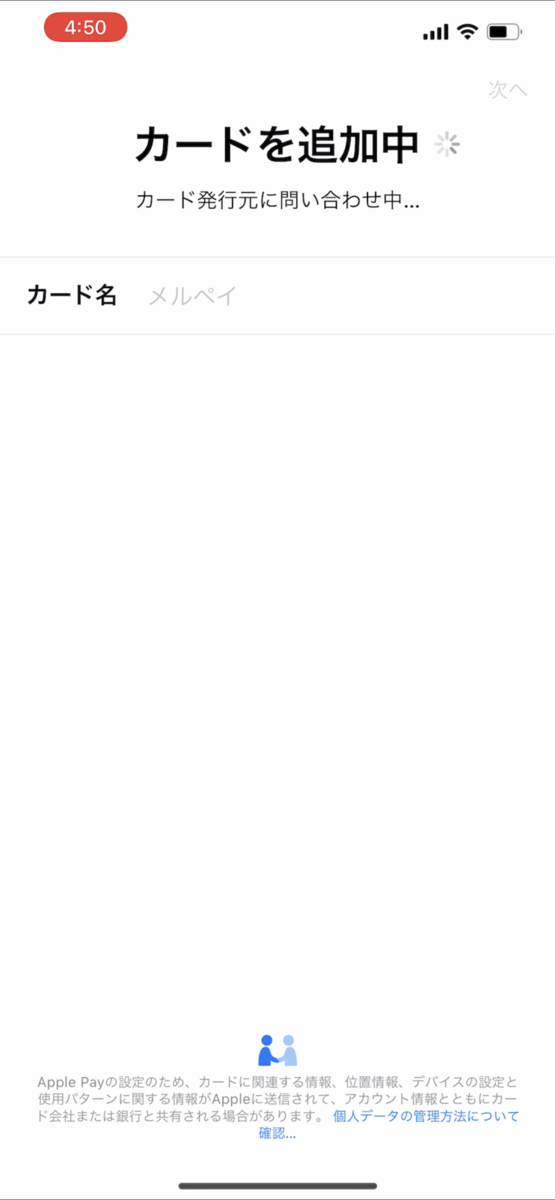
Apple Pay にメルペイを登録したのでそのときのスクショメモ。


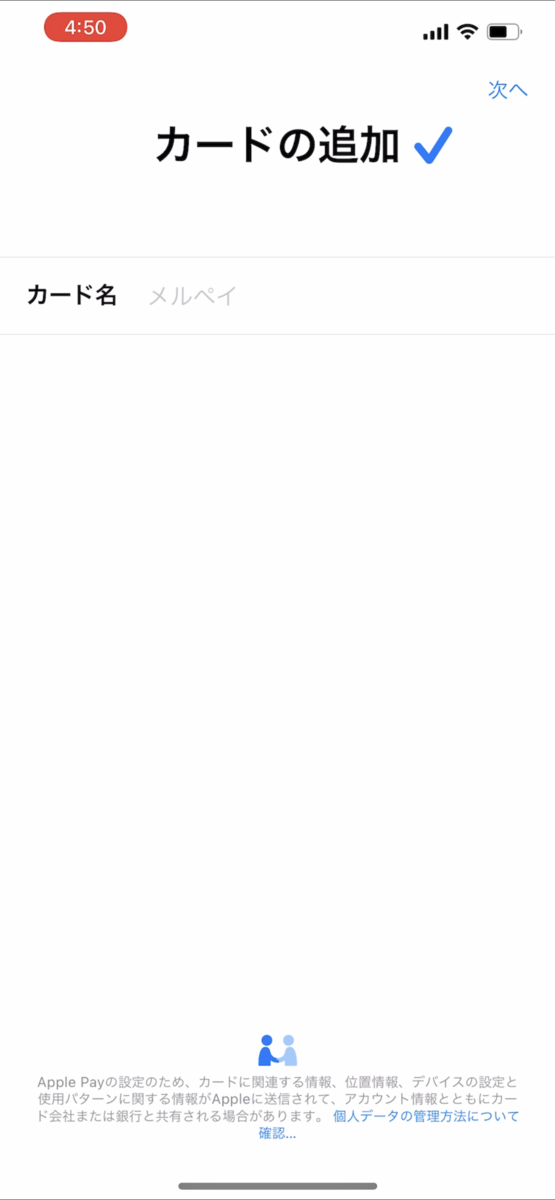

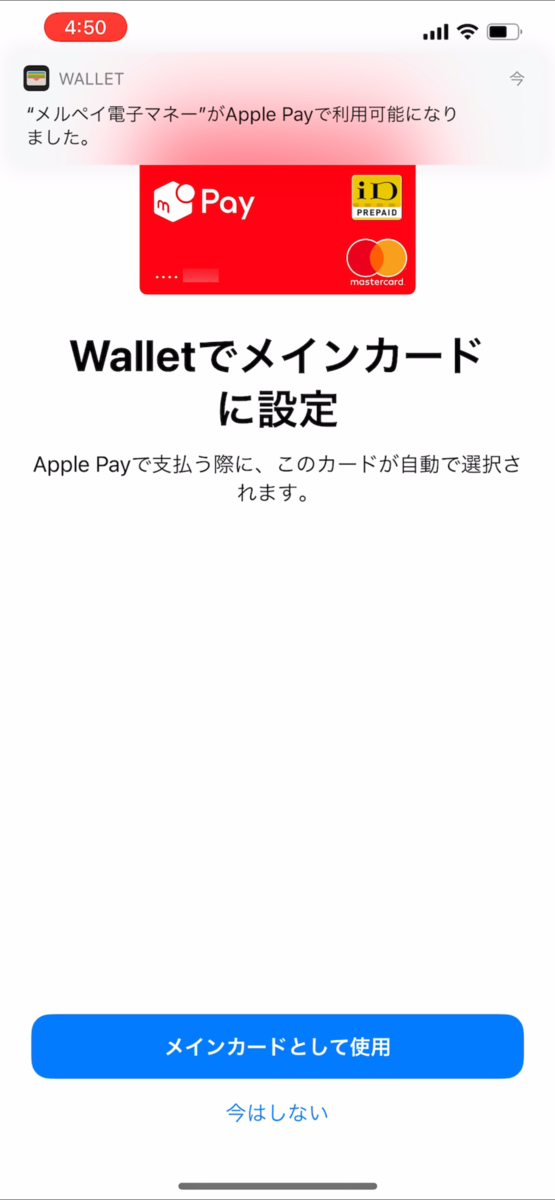
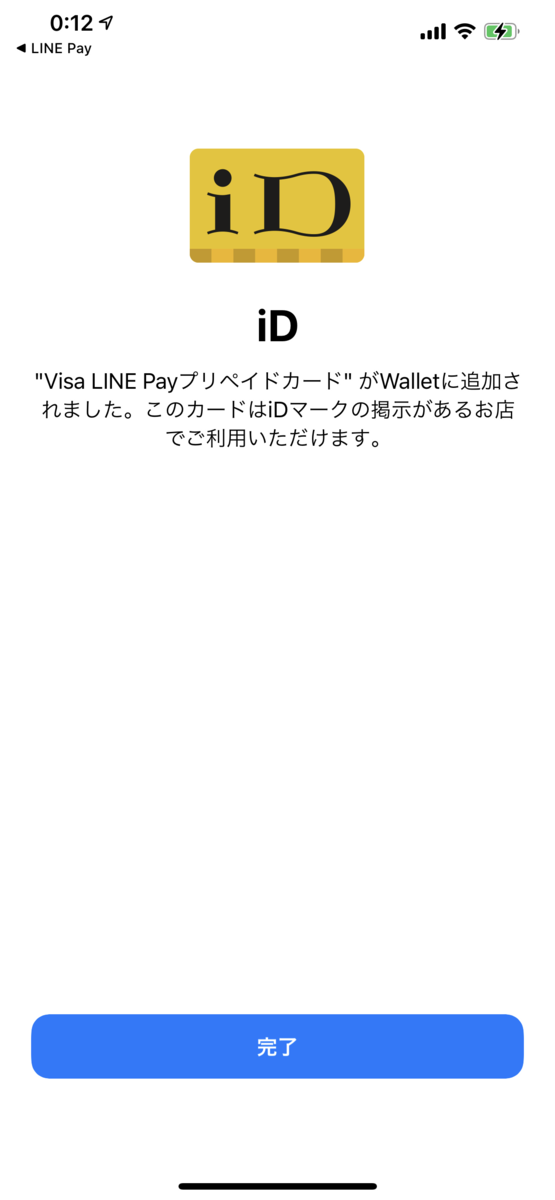
 Wallet に追加された。


Apple Pay にメルペイを登録したのでそのときのスクショメモ。
Wallet に追加された。
検証環境:
Xcode 12.4
Swift 5.3.2
UICollectionView を使ってタグクラウド風にセルが並ぶレイアウトを実現したい。
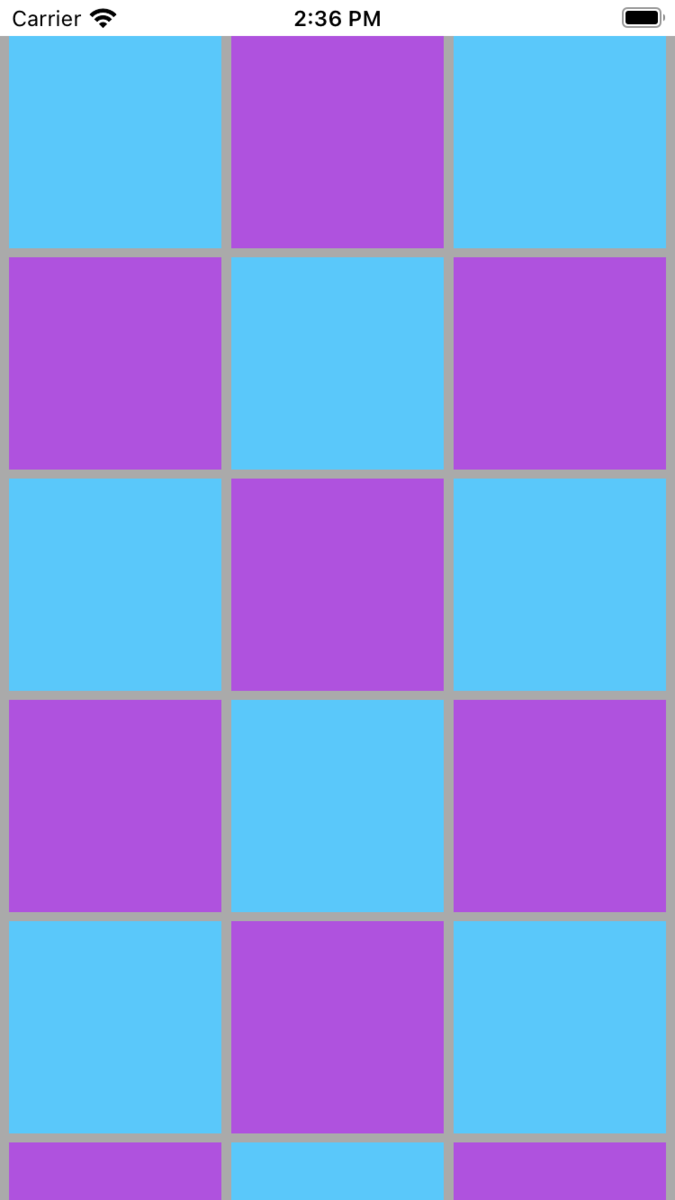
UICollectionView のデフォルトのレイアウトである UICollectionViewFlowLayout をそのまま使うと以下のようにセル間にスペースが入ってしまう。
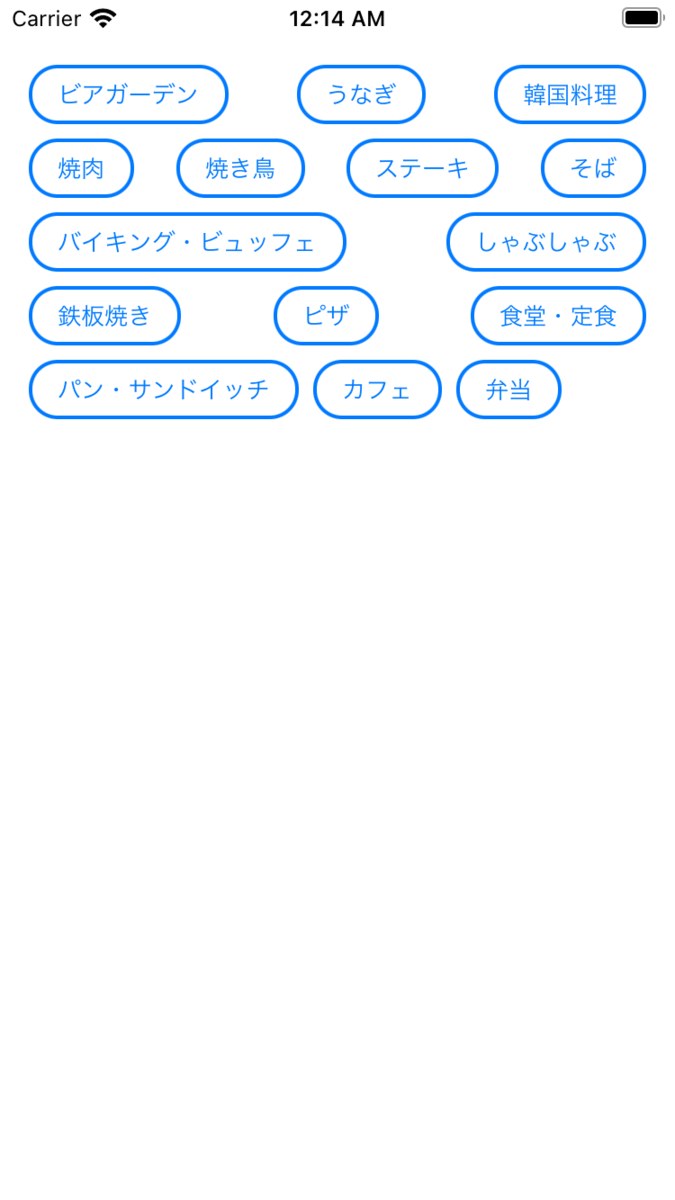
これをスペースを開けずに左寄せに配置されるカスタムレイアウトを作成する。
StoryBoard 側で UICollectionView を配置して collectionView と flowLayout を IBOutlet で接続しておく。
import UIKit

class ViewController: UIViewController {

    var items: [String] = [
        "ビアガーデン",
        "うなぎ",
        "韓国料理",
        "焼肉",
        "焼き鳥",
        "ステーキ",
        "そば",
        "バイキング・ビュッフェ",
        "しゃぶしゃぶ",
        "鉄板焼き",
        "ピザ",
        "食堂・定食",
        "パン・サンドイッチ",
        "カフェ",
        "弁当",
    ]

    override func viewDidLoad() {
        super.viewDidLoad()
    }

    @IBOutlet weak var collectionView: UICollectionView! {
        didSet {
            collectionView.dataSource = self
            collectionView.delegate = self
            collectionView.alwaysBounceVertical = true
            collectionView.allowsMultipleSelection = false
        }
    }

    @IBOutlet weak var flowLayout: UICollectionViewFlowLayout! {
        didSet {
            flowLayout.minimumLineSpacing = 8
            flowLayout.minimumInteritemSpacing = 8
            flowLayout.estimatedItemSize = UICollectionViewFlowLayout.automaticSize
            flowLayout.scrollDirection = .vertical
            flowLayout.sectionInset = UIEdgeInsets(top: 16, left: 16, bottom: 16, right: 16)
        }
    }
}

extension ViewController: UICollectionViewDataSource {

    func collectionView(_ collectionView: UICollectionView, numberOfItemsInSection section: Int) -> Int {
        return items.count
    }

    func collectionView(_ collectionView: UICollectionView, cellForItemAt indexPath: IndexPath) -> UICollectionViewCell {
        let cell = collectionView.dequeueReusableCell(withReuseIdentifier: "CollectionViewCell", for: indexPath) as! CollectionViewCell
        cell.textLabel.text = items[indexPath.item]
        return cell
    }
}

extension ViewController: UICollectionViewDelegate {

}

extension ViewController: UICollectionViewDelegateFlowLayout {

}

class CollectionViewCell: UICollectionViewCell {

    override func awakeFromNib() {
        super.awakeFromNib()

        textLabel.textColor = UIColor.systemBlue
        textLabel.font = .systemFont(ofSize: 14)

        layer.backgroundColor = UIColor.white.cgColor
        layer.borderWidth = 2
        layer.borderColor = UIColor.systemBlue.cgColor
        layer.cornerRadius = 16
        layer.masksToBounds = true

        // iOS12のみ以下制約をつけないとAutoLayoutが効かない
        contentView.translatesAutoresizingMaskIntoConstraints = false
        NSLayoutConstraint.activate([
            contentView.leftAnchor.constraint(equalTo: leftAnchor),
            contentView.rightAnchor.constraint(equalTo: rightAnchor),
            contentView.topAnchor.constraint(equalTo: topAnchor),
            contentView.bottomAnchor.constraint(equalTo: bottomAnchor)
        ])
    }

    // セル選択で色を反転させる
    override var isSelected: Bool {
        didSet {
            if isSelected {
                backgroundColor = UIColor.systemBlue
                textLabel.textColor = .white
            } else {
                backgroundColor = .white
                textLabel.textColor = UIColor.systemBlue
            }
        }
    }

    @IBOutlet weak var textLabel: UILabel!
}

// セルを左寄せにするカスタムレイアウトクラス
class CollectionViewLeftAlignedLayout: UICollectionViewFlowLayout {

    override func layoutAttributesForElements(in rect: CGRect) -> [UICollectionViewLayoutAttributes]? {
        guard let attributes = super.layoutAttributesForElements(in: rect) else { return nil }
        var currentRowY: CGFloat = -1.0
        var currentRowX: CGFloat = 0
        for attribute in attributes where attribute.representedElementCategory == .cell {
            if currentRowY != attribute.frame.origin.y {
                currentRowY = attribute.frame.origin.y
                currentRowX = sectionInset.left
            }
            attribute.frame.origin.x = currentRowX
            currentRowX += attribute.frame.width + minimumInteritemSpacing
        }
        return attributes
    }
}
今回はセル内に1行指定の UILabel があり、テキストの長さによってセルの横幅は可変長となる。
セルのサイズは固定値を指定するのではなく、AutoLayout の制約に従って動的に計算される Self Sizing 機能を利用する。
セルの Self Sizing 機能を有効にするには、UICollectionViewFlowLayout.estimatedItemSizeプロパティを 0 以外にすればよい。
estimatedItemSizeプロパティにはデフォルトでUICollectionViewFlowLayout.automaticSizeが設定されているので既に有効になっている。
なのでUICollectionViewFlowLayout.itemSizeプロパティやcollectionView(layout:sizeForItemAt:)デリゲートメソッドによるサイズ指定はしないようにする。
StoryBoard で UICollectionViewCell に UILabel を配置し、ContentView の四辺のエッジに合うように制約を追加する。

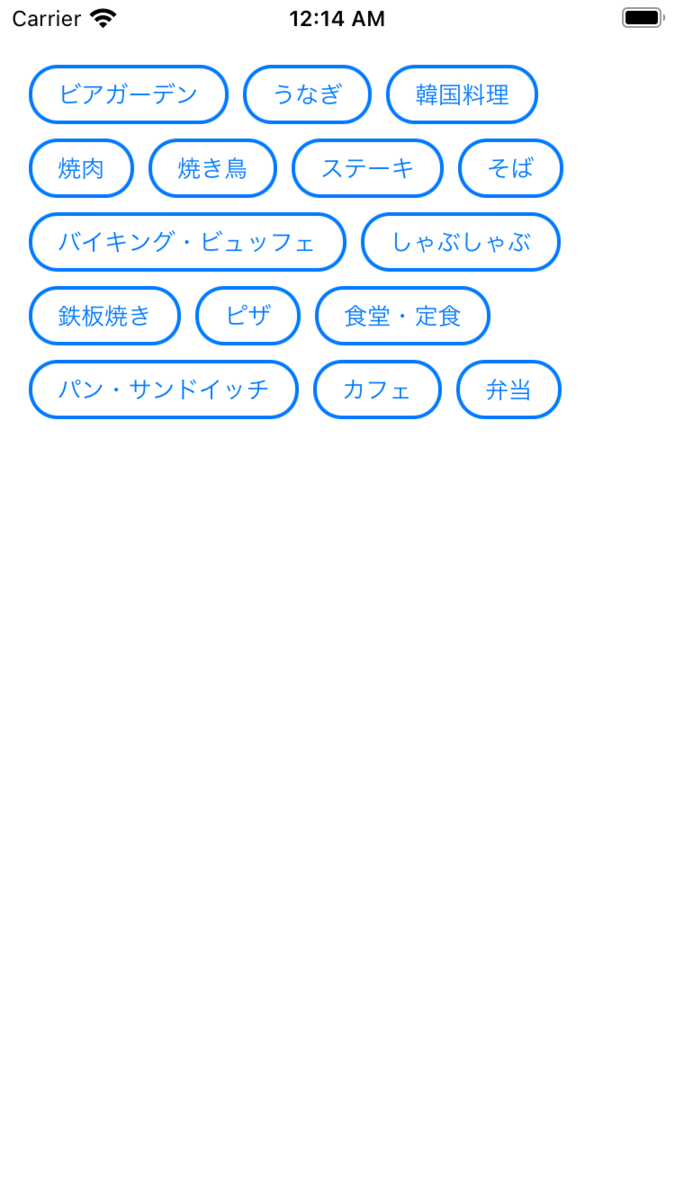
UICollectionViewFlowLayout を継承したサブクラスCollectionViewLeftAlignedLayoutを作成する。
そしてlayoutAttributesForElements(in:)メソッドをオーバーライドし、各セルのframe.origin.xを上書きして左寄せになるように調整する。

検証環境:
Xcode 12.4
Swift 5.3.2
UICollectionView のセルサイズを、
UICollectionViewFlowLayout.itemSizeプロパティUICollectionViewDelegateFlowLayoutデリゲートのcollectionView(_:layout:sizeForItemAt:)メソッドを実装してセルサイズ(CGSize)を指定しても、contentView に張り付けた UIImageView の制約の方が優先されて指定したセルサイズにならない現象が起きた。
原因はどうやら UICollectionViewCell の Self Sizing 機能が有効になり、セル内の AutoLayout の制約に従って自動計算されたセルサイズが優先されるらしい。
これを回避する方法はセルの推定サイズestimatedItemSizeプロパティにデフォルトでUICollectionViewFlowLayout.automaticSizeが指定されているのでこれを 0 に変更すればよい。
let flowLayout = collectionView.collectionViewLayout as! UICollectionViewFlowLayout
flowLayout.estimatedItemSize = .zero
または
@IBOutlet weak var flowLayout: UICollectionViewFlowLayout! {
    didSet {
        flowLayout.estimatedItemSize = .zero
    }
}

検証環境:
Xcode 12.4
Swift 5.3.2
UICollectionView のセルの横幅をいい感じに調整する方法について。
前提条件として、セルの並び方向はデフォルトのflowLayout.scrollDirection = .vertical、セルのサイズは正方形ですべてのセルが同じサイズであること。
セルの横幅に固定値を指定した場合、セル間の間隔はシステム側で自動に調整してくれるが、セル間の間隔が広くなってしまうと見た目がよくない。
また端末によって画面サイズが違うので1行に配置されるセル数や間隔も変わってくる。
固定値でなく例えば1行にセルが3列入るように横幅を計算する方法もあるが、その場合 iPhone では問題ないが iPad では1行3列だとセルがでかすぎで、せっかくの大画面が生かされない。
実現したいことは大体のセルの最小横幅を指定すると、セル間の隙間は広げず、セル幅を広げて画面に詰まった状態でセルが並ぶように自動調整してくれる機能。
以下サンプルコード。
Constantsのパラメータで調整できる。
StoryBoard も使っているがここでは省略。
import UIKit

class ViewController: UIViewController {

    var items: [String] = []

    override func viewDidLoad() {
        super.viewDidLoad()

        for i in 0..<20 {
            items.append("\(i)")
        }

        collectionView.dataSource = self
        collectionView.delegate = self
        collectionView.alwaysBounceVertical = true

        let flowLayout = collectionView.collectionViewLayout as! UICollectionViewFlowLayout
        flowLayout.estimatedItemSize = .zero
    }

    @IBOutlet weak var collectionView: UICollectionView!

    private struct Constants {
        static let minimumCellWidth: CGFloat = 100 // セルの最小横幅
        static let interItemSpacing: CGFloat = 5 // セル間のマージン
        static let leftRightInset: CGFloat = 5 // 左右の各マージン
        static let lineSpacing: CGFloat = 5 // 行間のマージン
    }

    var cachedCellSize: CGSize?

    private func calculateCellWidth() -> CGFloat {
        // 左右のInsetを除いた横幅
        let widthWithoutMargin = collectionView.frame.width - (Constants.leftRightInset * 2)
        // 1行のセル数
        let numPerRow = (widthWithoutMargin / Constants.minimumCellWidth).rounded(.down)
        // セルに割り当てる余り幅の算出
        var calculator: ((CGFloat) -> CGFloat)!
        calculator = { (num: CGFloat) -> CGFloat in
            let remainingWidth = widthWithoutMargin - (Constants.minimumCellWidth * num) - (Constants.interItemSpacing * (num - 1))
            if remainingWidth < 0 {
                return calculator(num - 1)
            } else {
                return (remainingWidth / num).rounded(.down)
            }
        }
        let additionalWidth = calculator(numPerRow)
        // セル幅
        let calculatedCellWidth = Constants.minimumCellWidth + additionalWidth

        print("collectionViewWidth: \(collectionView.frame.width), widthWithoutMargin: \(widthWithoutMargin), numPerRow: \(numPerRow), additionalWidth: \(additionalWidth), calculatedCellWidth: \(calculatedCellWidth)")

        return calculatedCellWidth
    }
}

extension ViewController: UICollectionViewDataSource {

    func collectionView(_ collectionView: UICollectionView, numberOfItemsInSection section: Int) -> Int {
        return items.count
    }

    func collectionView(_ collectionView: UICollectionView, cellForItemAt indexPath: IndexPath) -> UICollectionViewCell {
        let cell = collectionView.dequeueReusableCell(withReuseIdentifier: "CollectionViewCell", for: indexPath)
        cell.contentView.backgroundColor = (indexPath.item % 2 == 0) ? .systemTeal : .systemPurple
        return cell
    }
}

extension ViewController: UICollectionViewDelegate {

}

extension ViewController: UICollectionViewDelegateFlowLayout {

    func collectionView(_ collectionView: UICollectionView, layout collectionViewLayout: UICollectionViewLayout, sizeForItemAt indexPath: IndexPath) -> CGSize {
        // 今回はすべてのセルが同じサイズという仕様なので初回のみ計算し、それ以降はキャッシュしたサイズを返す
        if let cachedCellSize = cachedCellSize {
            return cachedCellSize
        } else {
            let width = calculateCellWidth()
            cachedCellSize = CGSize(width: width, height: width)
            return cachedCellSize!
        }
    }

    func collectionView(_ collectionView: UICollectionView, layout collectionViewLayout: UICollectionViewLayout, insetForSectionAt section: Int) -> UIEdgeInsets {
        return .init(top: 0, left: Constants.leftRightInset, bottom: 0, right: Constants.leftRightInset)
    }

    func collectionView(_ collectionView: UICollectionView, layout collectionViewLayout: UICollectionViewLayout, minimumLineSpacingForSectionAt section: Int) -> CGFloat {
        return Constants.lineSpacing
    }

    func collectionView(_ collectionView: UICollectionView, layout collectionViewLayout: UICollectionViewLayout, minimumInteritemSpacingForSectionAt section: Int) -> CGFloat {
        return Constants.interItemSpacing
    }
}

class CollectionViewCell: UICollectionViewCell {
}
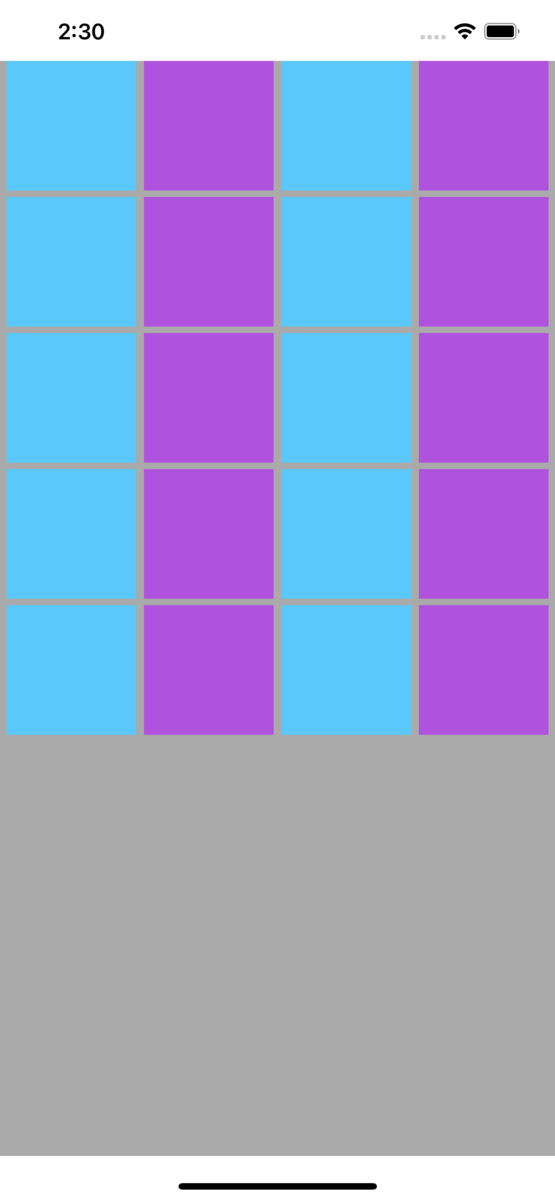
例えばセルの最小横幅を100ptを指定した場合の各端末の表示

collectionViewWidth: 320.0, additionalWidth: 0.0, calculatedCellWidth: 100.0
collectionViewWidth: 375.0, additionalWidth: 18.0, calculatedCellWidth: 118.0
collectionViewWidth: 428.0, additionalWidth: 0.0, calculatedCellWidth: 100.0
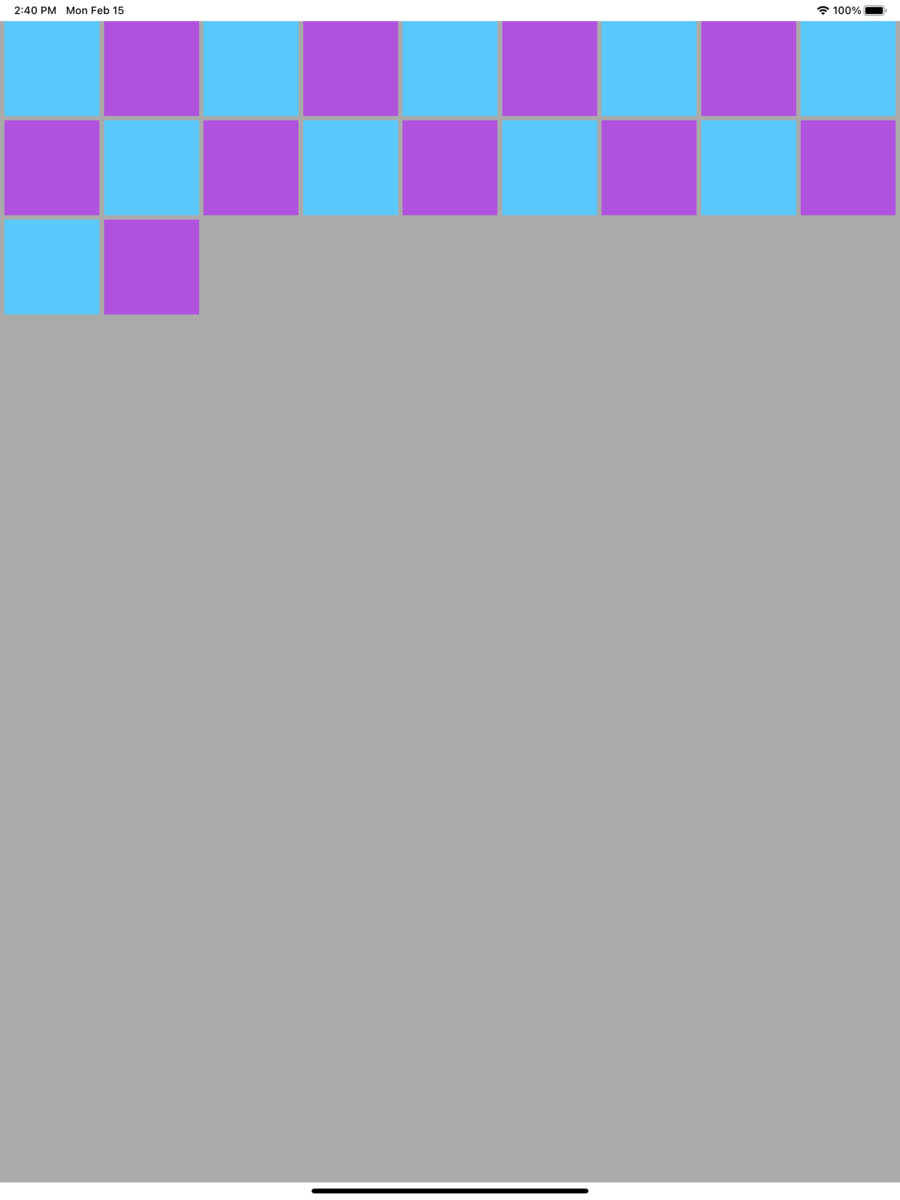
collectionViewWidth: 1024.0, additionalWidth: 8.0, calculatedCellWidth: 108.0
環境: macOS Catalina 10.15.7
自分用の macOS ショートカットメモ。
command + option + dcontrol + F3ちなみに表示・非表示アニメーションの速度はdefaultsコマンドで変更できる。
$ defaults write com.apple.dock autohide-time-modifier -float 0.2; killall Dock
完全にアニメーションをオフにするには 0 を指定すればよい。
$ defaults write com.apple.dock autohide-time-modifier -float 0; killall Dock
デフォルトに戻すには以下を実行する。
$ defaults delete com.apple.dock autohide-time-modifier; killall Dock
System Preferences.appで呼び出している。command + l を押すとシステム環境設定のトップ画面に戻る。option + F10 or F11 or F12command + m を無効化するcmd + n,やcmd + ,の誤操作でよく発動してしまうので無効化したい。cmd + mではない別のショートカットキーを割り当てることで発動しないようにする。control + command + m を設定する。control + command + m を設定しておく。

新しい iPhone に移行する際に一番面倒だった新生パワーダイレクトのスマホ認証サービスの更新についてのメモ。
新生銀行の新生パワーダイレクトでは、振り込みなどの取引時には Symantec の「VIP Access」アプリを使った認証を行う必要がある。
この「VIP Access」アプリでは、インストールして起動するとクレデンシャルID(と30秒毎に更新されるセキュリティコード)が発行されるので、それを新生パワーダイレクトに登録して紐付ける必要がある。
クレデンシャルIDは端末固有のものであり、iPhone の機種変更をした際に、古い端末からデータ移行してリストアしても、「VIP Access」アプリのクレデンシャルIDは引き継がれず新しいIDが発行されるので、新生パワーダイレクトにも新しいIDを登録し直す必要がある。
(おそらくID情報は Keychain にkSecAttrAccessibleを~ThisDeviceOnlyにして保存し、その端末以外では復元できないようにしている)
この新生パワーダイレクトに登録したクレデンシャルIDの解除は自分ではできず、面倒なことにチャットまたは電話による有人対応でないとできない。
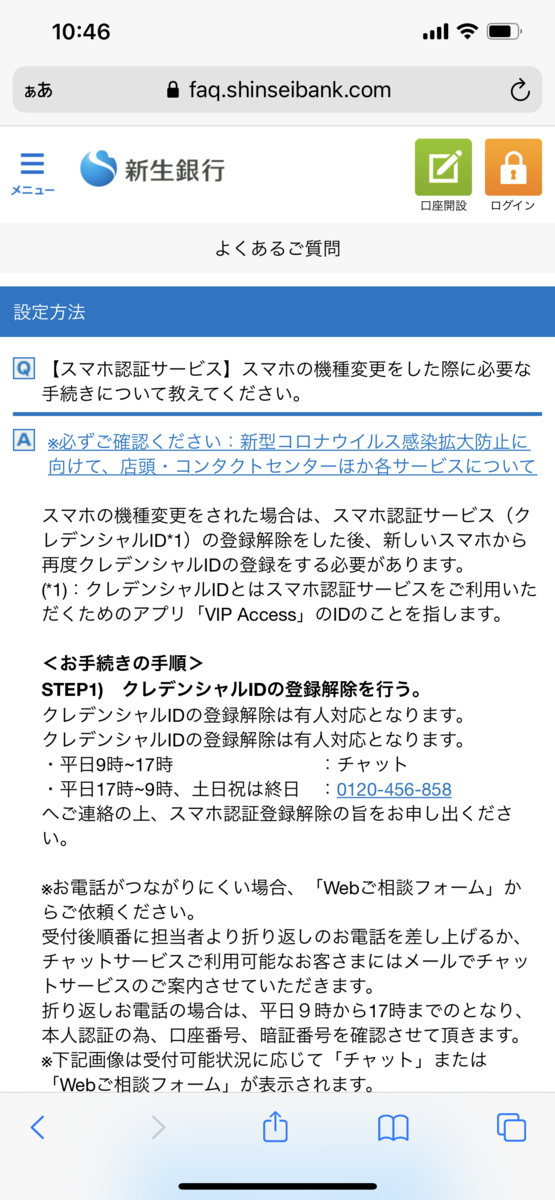
今回自分は電話でやったのでその時の手順。
たぶんチャットでやったほうが楽だと思うので次回はチャットでやりたい。
検証環境:
Xcode 12.3
Swift 5.3.2
配列に添字アクセスする場合、存在しないインデックスにアクセスすると Index out of rangeの例外が発生してしまうので、事前にインデックスが配列数の範囲内であるかをチェックする必要がある。
そういう場合に Array#indices プロパティ-> Range#contains メソッドを使って範囲内のインデックスであるかチェックできる。
let ary = ["a", "b", "c"]
let index = 1

if ary.indices.contains(index) {
  let ret = ary[index]
} else {
  // Index out of range
}
安全に添字アクセスできる subscript を Extension として追加する例。
extension Array {
  subscript (safe index: Index) -> Element? {
    indices.contains(index) ? self[index] : nil
  }
}

let ary = ["a", "b", "c"]
ary[safe: 0] // "a"
ary[safe: 3] // nil
検証環境:
Xcode 12.3
Swift 5.3.2

前回の記事の実装では問題が発生することが発覚したので実装方法を見直す。
xyk.hatenablog.com
問題というのは、UINavigationController のプッシュで画面遷移する時に、事前に遷移先 UIViewController の hidesBottomBarWhenPushed を true にしておくとTabBar を非表示にできる機能があるのだが、このときに中央ボタンが Tabbar のサブビューではないため、いっしょに消えず画面に残ってしまう。
前回のコードから中央ボタンの貼り付け先をUITabBarController.viewではなくUITabBarController.tabbarに変更した。
import UIKit

class MyTabBarController: UITabBarController {

    let middleButton = UIButton(type: .custom)
    let middleButtonHeight: CGFloat = 100

    override func viewDidLoad() {
        super.viewDidLoad()

        setupMiddleButton()
    }

    override func viewDidLayoutSubviews() {
        super.viewDidLayoutSubviews()

        tabBar.bringSubviewToFront(middleButton)
    }

    private func setupMiddleButton() {
        middleButton.addTarget(self, action: #selector(handleMiddleButton), for: .touchUpInside)
        middleButton.setImage(UIImage.init(named: "play"), for: .normal)

        middleButton.translatesAutoresizingMaskIntoConstraints = false
        tabBar.addSubview(middleButton)
        middleButton.widthAnchor.constraint(equalToConstant: middleButtonHeight).isActive = true
        middleButton.heightAnchor.constraint(equalToConstant: middleButtonHeight).isActive = true
        middleButton.centerXAnchor.constraint(equalTo: tabBar.centerXAnchor).isActive = true
        let heightDifference = (tabBar.frame.height / 2) - (middleButtonHeight / 2)
        middleButton.topAnchor.constraint(equalTo: tabBar.topAnchor, constant: heightDifference).isActive = true
    }

    @objc func handleMiddleButton(_ sender: UIButton) {
        let controller = UIViewController()
        controller.view.backgroundColor = .white
        present(controller, animated: true)
    }
}

extension MyTabBarController: UITabBarControllerDelegate {

    func tabBarController(_ tabBarController: UITabBarController,
                          shouldSelect viewController: UIViewController) -> Bool {
        // 選択されたタブが中央の場合は画面遷移が発生しないように false を返す。
        // ここでは中央のタブの viewController に ViewController2 を設定していたとする。
        // ちなみに tabBarController.selectedIndex はまだ遷移前の index が入っているので判定には使えない。
        if viewController is ViewController2 {
            return false
        }
        return true
    }

    func tabBarController(_ tabBarController: UITabBarController, didSelect viewController: UIViewController) {
        print("didSelect: \(tabBarController.selectedIndex)")
    }
}
これでhidesBottomBarWhenPushedが true の場合には、TabBar といっしょに非表示になった。
しかし TabBar に貼り付けたので、中央ボタンが親の TabBar の範囲内に収まっている場合は問題ないが、TabBar より中央ボタンのサイズが大きく、はみ出る場合には、はみ出た部分のタップは反応しなくなる。
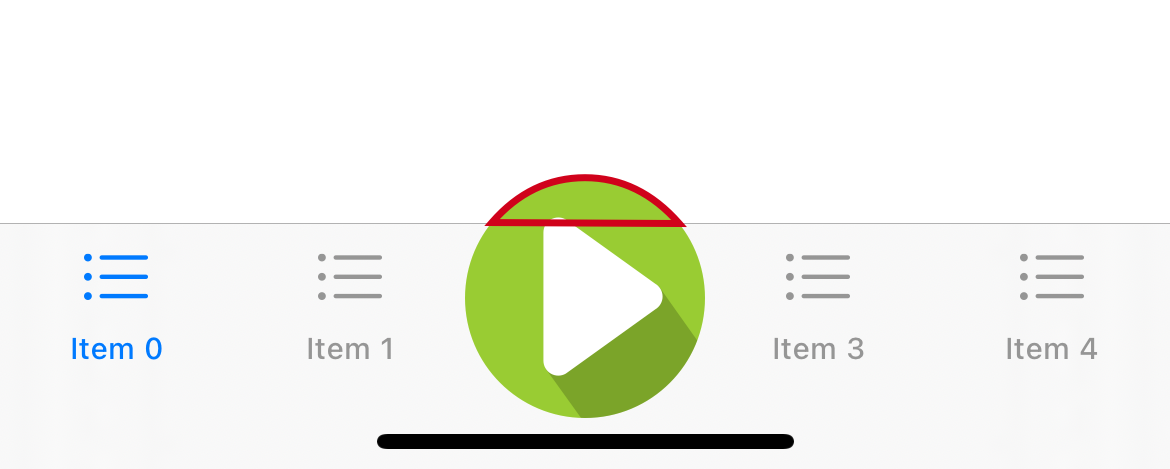
TabBar からはみ出た部分もタップが反応するようにしたい。
UITabBar を継承したサブクラスを作成する。
その中でpoint(inside:with:)をオーバーライドし、UITabBar の範囲外でも中央ボタン上のタップ座標である場合は true を返すようする。
これで hitTest が TabBar で止まらず、サブビューの中央ボタンまで呼び出されるようになり、ボタンに addTarget で追加したイベントが実行されるようになる。
import UIKit

class MyTabBar: UITabBar {

    var didTapHandler: (() -> Void)?

    private let middleButtonHeight: CGFloat = 100
    private let middleButton = UIButton()

    override func awakeFromNib() {
        super.awakeFromNib()
        setupMiddleButton()
    }

    override func point(inside point: CGPoint, with event: UIEvent?) -> Bool {

        let convertedPoint = middleButton.convert(point, from: self)

        // 中央ボタンが円の場合
        if UIBezierPath(ovalIn: middleButton.bounds).contains(convertedPoint) {
            return true
        }

        // 中央ボタンが矩形の場合
        /*
        if middleButton.bounds.contains(convertedPoint) {
            return true
        }
         */

        return super.point(inside: point, with: event)
    }

    func setupMiddleButton() {
        middleButton.setImage(UIImage.init(named: "play"), for: .normal)
        middleButton.addTarget(self, action: #selector(handleMiddleButton), for: .touchUpInside)

        addSubview(middleButton)
        middleButton.translatesAutoresizingMaskIntoConstraints = false
        middleButton.widthAnchor.constraint(equalToConstant: middleButtonHeight).isActive = true
        middleButton.heightAnchor.constraint(equalToConstant: middleButtonHeight).isActive = true
        middleButton.centerXAnchor.constraint(equalTo: centerXAnchor).isActive = true
        let heightDifference = (frame.height / 2) - (middleButtonHeight / 2)
        middleButton.topAnchor.constraint(equalTo: topAnchor, constant: heightDifference).isActive = true
    }

    @objc func handleMiddleButton() {
        didTapHandler?()
    }
}
この MyTabBar を StoryBoard 上で TabBar のクラスとして設定しておく。
そして UITabBarController を継承したサブクラスで中央ボタンのタップイベントをハンドリングする。
class MyTabBarController: UITabBarController {

    var didTapCenterButton: (() -> Void)?

    override func viewDidLoad() {
        super.viewDidLoad()

        let myTabBar = tabBar as! MyTabBar

        myTabBar.didTapHandler = { [weak self] in
            let controller = UIViewController()
            controller.view.backgroundColor = .white
            self?.present(controller, animated: true)
        }

        delegate = self
    }
}

extension MyTabBarController: UITabBarControllerDelegate {

    func tabBarController(_ tabBarController: UITabBarController,
                          shouldSelect viewController: UIViewController) -> Bool {
        if viewController is ViewController2 {
            return false
        }
        return true
    }

    func tabBarController(_ tabBarController: UITabBarController, didSelect viewController: UIViewController) {
        print("didSelect: \(tabBarController.selectedIndex)")
    }
}
検証環境:
Xcode 12.3
Swift 5.3.2
この記事の実装方法では問題があることが発覚したので新しい記事で修正版を書いた。
多くのアプリでよく見かける、タブバーの中央に大きな画像ボタンを配置する方法について。
やり方はいろいろあるが、今回は中央のタブの上に別の UIView を貼り付ける方法で実現する。
まずは5つのタブがあるタブバーを用意する。
今回は StoryBoard 上で UITabBarController を配置、そこに5つの ViewController を接続する。

次に UITabBarController を継承したサブクラスを作成し、StoryBoard の UITabBarController のクラスとして設定する。
このクラス内で画像ボタンのビュー(今回は UIButton)を生成して貼り付け、 tabBar の中央に位置するように制約を付ける。
import UIKit

class MyTabBarController: UITabBarController {

    override func viewDidLoad() {
        super.viewDidLoad()

        delegate = self

        setupMiddleButton()
    }

    private func setupMiddleButton() {
        let middleButtonHeight: CGFloat = 100
        let middleButton = UIButton(type: .custom)
        middleButton.addTarget(self, action: #selector(handleMiddleButton), for: .touchUpInside)
        middleButton.setImage(UIImage.init(named: "play"), for: .normal)

        middleButton.translatesAutoresizingMaskIntoConstraints = false
        view.insertSubview(middleButton, aboveSubview: tabBar)
        middleButton.widthAnchor.constraint(equalToConstant: middleButtonHeight).isActive = true
        middleButton.heightAnchor.constraint(equalToConstant: middleButtonHeight).isActive = true
        middleButton.centerXAnchor.constraint(equalTo: tabBar.centerXAnchor).isActive = true
        let heightDifference = (tabBar.frame.height / 2) - (middleButtonHeight / 2)
        middleButton.topAnchor.constraint(equalTo: tabBar.topAnchor, constant: heightDifference).isActive = true
    }

    @objc func handleMiddleButton(_ sender: UIButton) {
        print("handleMiddleButton")
    }
}

extension MyTabBarController: UITabBarControllerDelegate {

    func tabBarController(_ tabBarController: UITabBarController,
                          shouldSelect viewController: UIViewController) -> Bool {
        // 選択されたタブが中央の場合は画面遷移が発生しないように false を返す。
        // ここでは中央のタブの viewController に ViewController2 を設定していたとする。
        // ちなみに tabBarController.selectedIndex はまだ遷移前の index が入っているので判定には使えない。
        if viewController is ViewController2 {
            return false
        }
        return true
    }

    func tabBarController(_ tabBarController: UITabBarController, didSelect viewController: UIViewController) {
        print("didSelect: \(tabBarController.selectedIndex)")
    }
}
UIButton の貼り付け先は UITabBarController.tabBar ではなく、UITabBarController.view にしている。
理由は tabBar に貼り付けると親ビューである tabBar の矩形からはみ出したビューに対してのタッチイベントが反応しなくなるため。